前言
在上一篇博客中,我们封装了一个基于 Fabricjs 的基本类,有一些易于扩展的方法。
本篇会聚焦于各个类型的图形绘制实现方式。
写在前面
文章接下来将要介绍的实现方法,有一部分(矩形和圆形的实现)参考自掘金博主“德育处主任”。
支持原创以及感谢作者的分享。
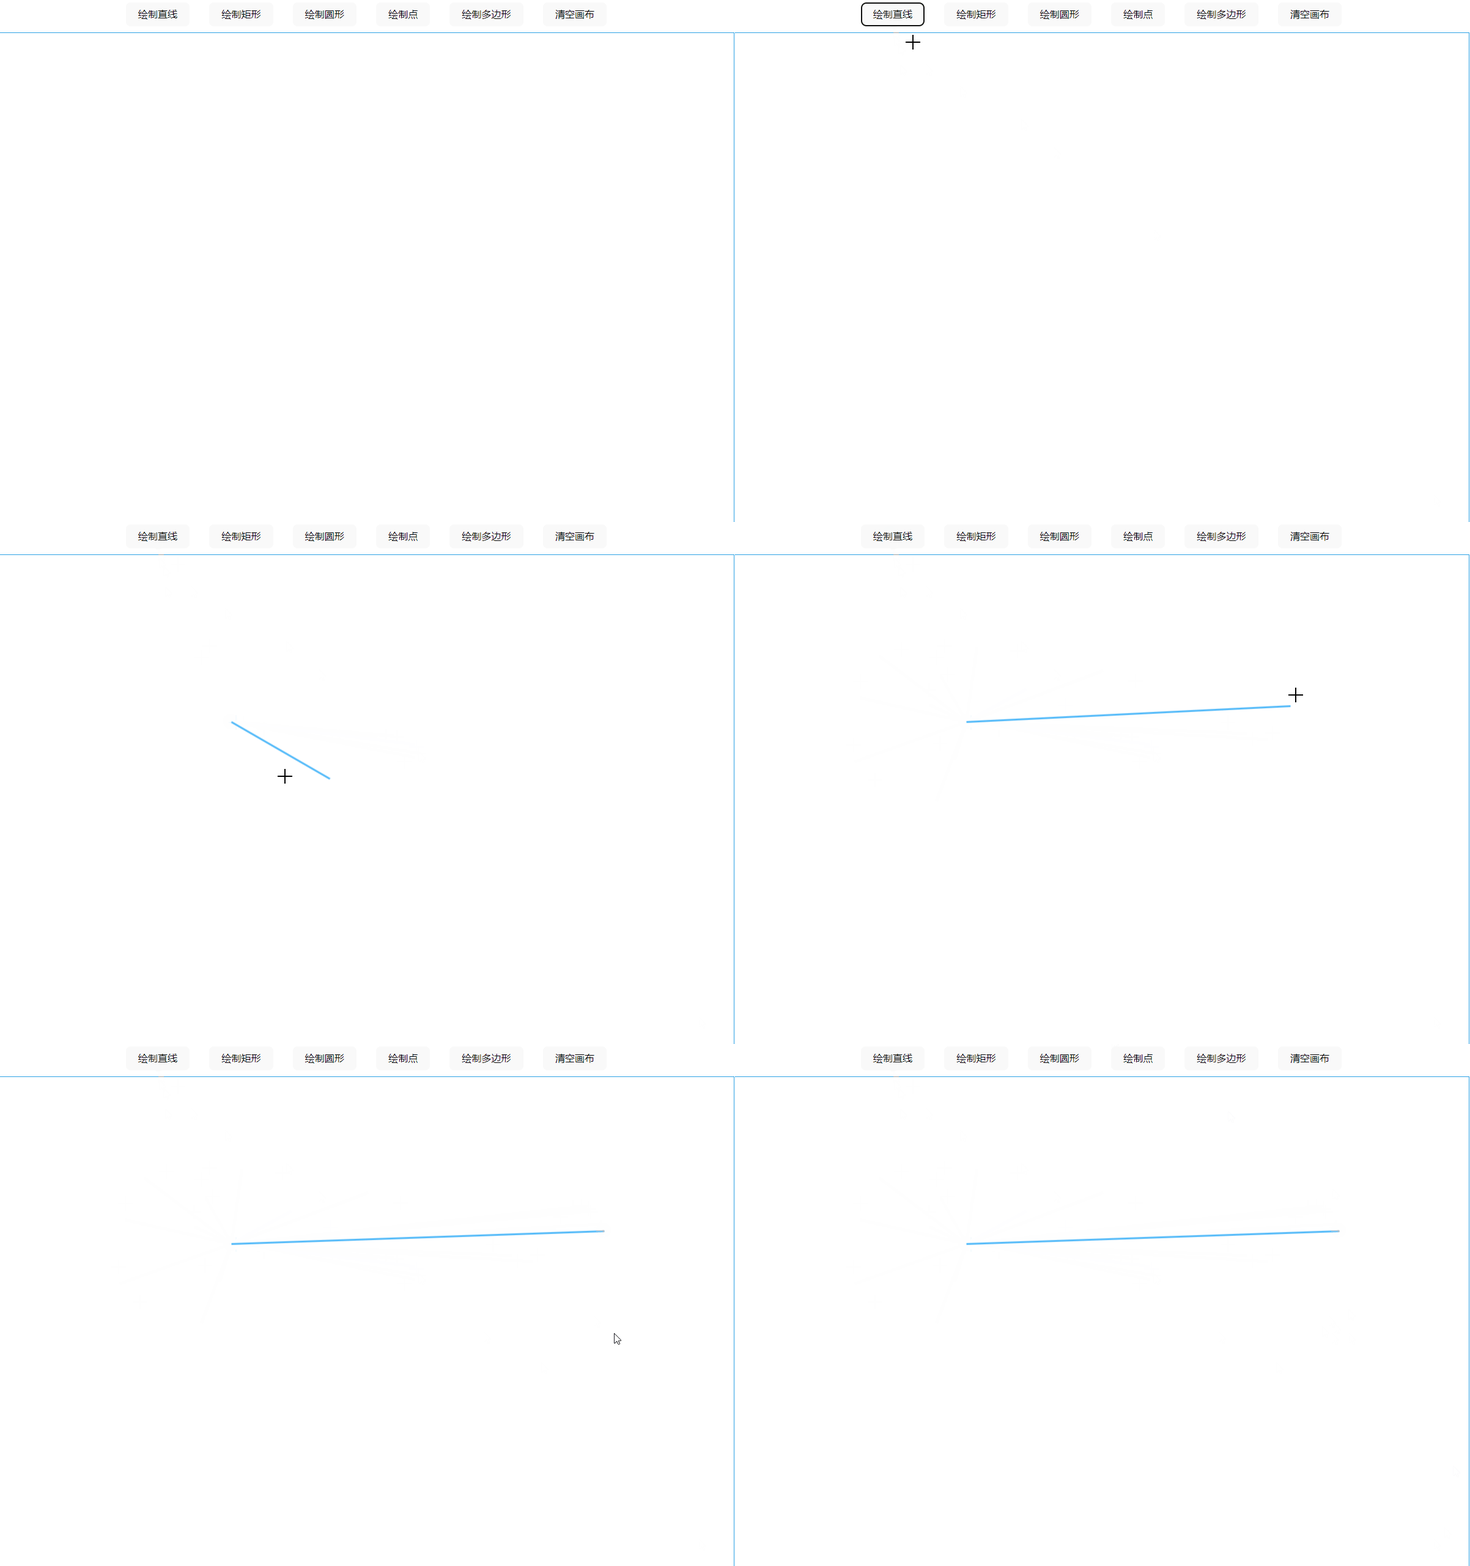
绘制直线
绘制直线需要的参数是一个 path 数组[x1,y1,x2,y2]。
x1 和 y1 代表了直线的起点坐标,而 x2,y2 则代表直线的终点坐标。
所以整体的实现思路就是:记录用户的鼠标点击事件,获取每次点击时的坐标位置,当点的数量等于两个时,完成绘制。
 1
 2
 3
 4
 5
 6
 7
 8
 9
10
11
12
13
14
15
16
17
18
19
20
21
22
23
24
25
26
27
28
29
30
31
32
33
34
35
36
37
38
39
40
41
42
43
44
45
46
|
class IFabric extends Emitter {
  _drawLine() {
    // 记录点
    let downPoints = [];
    let currentLine;
    this._canvas.on("mouse:up", (e) => {
      downPoints.push(e.absolutePointer);
      if (downPoints.length === 1) {
        this.emit("line-tooltip");
        // 初始线段
        const path = [
          downPoints[0].x,
          downPoints[0].y,
          downPoints[0].x,
          downPoints[0].y,
        ];
        // 只有一个点的情况,生成线段
        const uid = this.addLineToCanvas(path, {
          stroke: "#51B9F9",
          strokeWidth: 3,
          isShapeOnCanvas: true,
        });
        currentLine = this.getCanvasElementById(uid);
      } else if (downPoints.length === 2) {
        // 获取到两个点,更新线段参数
        currentLine.set({
          x1: downPoints[0].x,
          y1: downPoints[0].y,
          x2: downPoints[1].x,
          y2: downPoints[1].y,
        });
        this._canvas.requestRenderAll();
        // 结束绘制
        this._offDrawEvent();
        this.emit("line-done");
      }
    });
  }
    // 通用方法:结束绘制
  _offDrawEvent() {
    this._canvas.off("mouse:down");
    this._canvas.off("mouse:move");
    this._canvas.off("mouse:up");
    this._canvas.defaultCursor = "default";
  }
}
|

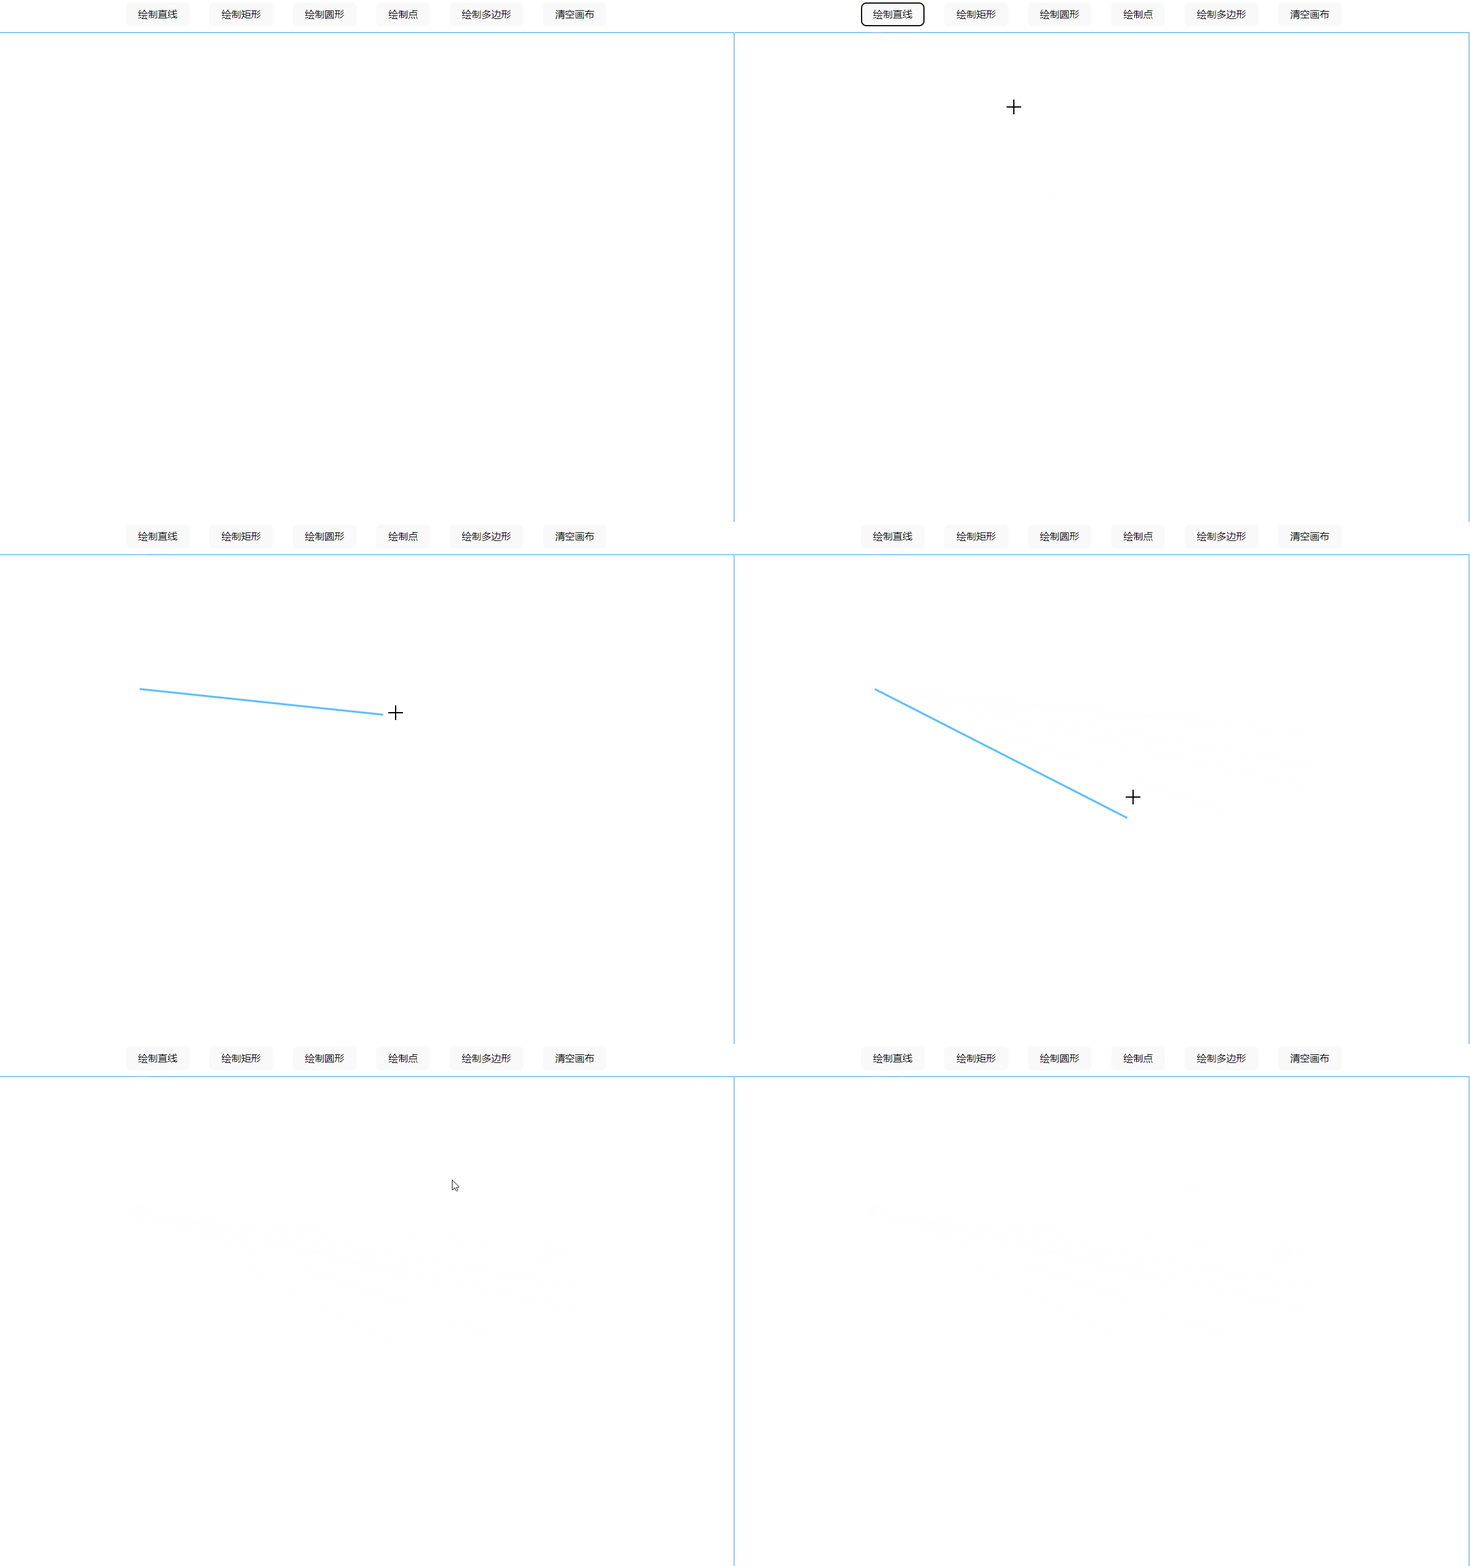
目前这种实现方式虽然是可以画出来,但是会显得比较突兀,在绘制完成之前并不能有一个比较好的预期。
所以,我们可以通过mouse:move事件,来对线段的状态进行即时更新:
 1
 2
 3
 4
 5
 6
 7
 8
 9
10
11
12
13
14
15
16
17
18
19
20
21
22
23
24
25
26
27
28
29
30
31
32
33
34
35
36
37
38
39
40
41
42
43
|
class IFabric extends Emitter {
  _drawLine() {
    // 记录点
    let downPoints = [];
    let currentLine;
    this._canvas.on("mouse:up", (e) => {
      downPoints.push(e.absolutePointer);
      if (downPoints.length === 1) {
        this.emit("line-tooltip");
        // 初始线段
        const path = [
          downPoints[0].x,
          downPoints[0].y,
          downPoints[0].x,
          downPoints[0].y,
        ];
        // 只有一个点的情况,生成线段
        const uid = this.addLineToCanvas(path, {
          stroke: "#51B9F9",
          strokeWidth: 3,
          isShapeOnCanvas: true,
        });
        currentLine = this.getCanvasElementById(uid);
      } else if (downPoints.length === 2) {
        // 已有两个点,结束绘制
        this._canvas.requestRenderAll();
        this._offDrawEvent();
        this.emit("line-done");
      }
    });
      this._canvas.on("mouse:move", (e) => {
      if (downPoints.length === 1) {
        // 只有一个点的情况,更新线段
        const currentPoint = e.absolutePointer;
        currentLine.set({
          x2: currentPoint.x,
          y2: currentPoint.y,
        });
        this._canvas.requestRenderAll();
      }
    });
  }
}
|

最后,还记得我们最开始设置的右键事件吗,现在就可以派上用场了。
当用户绘制线段的时候,希望进行取消,我们可以用右键来完成这个动作:
 1
 2
 3
 4
 5
 6
 7
 8
 9
10
11
12
13
14
15
16
17
18
19
20
21
22
23
24
25
26
27
28
29
30
31
32
33
34
35
36
37
38
39
40
41
42
43
44
45
46
47
48
49
50
51
52
53
54
55
56
|
class IFabric extends Emitter {
  _drawLine() {
    // 记录点
    let downPoints = [];
    let currentLine;
    this._canvas.on("mouse:up", (e) => {
      downPoints.push(e.absolutePointer);
      if (downPoints.length === 1) {
        this.emit("line-tooltip");
        // 初始线段
        const path = [
          downPoints[0].x,
          downPoints[0].y,
          downPoints[0].x,
          downPoints[0].y,
        ];
        // 只有一个点的情况,生成线段
        const uid = this.addLineToCanvas(path, {
          stroke: "#51B9F9",
          strokeWidth: 3,
          isShapeOnCanvas: true,
        });
        currentLine = this.getCanvasElementById(uid);
      } else if (downPoints.length === 2) {
        // 已有两个点,结束绘制
        this._canvas.requestRenderAll();
        this._offDrawEvent();
        this.emit("line-done");
      }
    });
      this._canvas.on("mouse:move", (e) => {
      if (downPoints.length === 1) {
        // 只有一个点的情况,更新线段
        const currentPoint = e.absolutePointer;
        currentLine.set({
          x2: currentPoint.x,
          y2: currentPoint.y,
        });
        this._canvas.requestRenderAll();
      }
      });
    this._canvas.on("mouse:down", (e) => {
      if (e.button === 3) {
        this._cancelDrawing("line-done", currentLine);
      }
    });
  }
    // 右键取消绘制状态
  _cancelDrawing(eName, needPop) {
    if (needPop) {
      const poped = this._elements.pop();
      this._canvas.remove(poped);
    }
    this.emit(eName);
  }
}
|

_cancelDrawing 可以作为一个通用方法,适配其他所有的绘制动作。
至此,线段绘制就完成了。
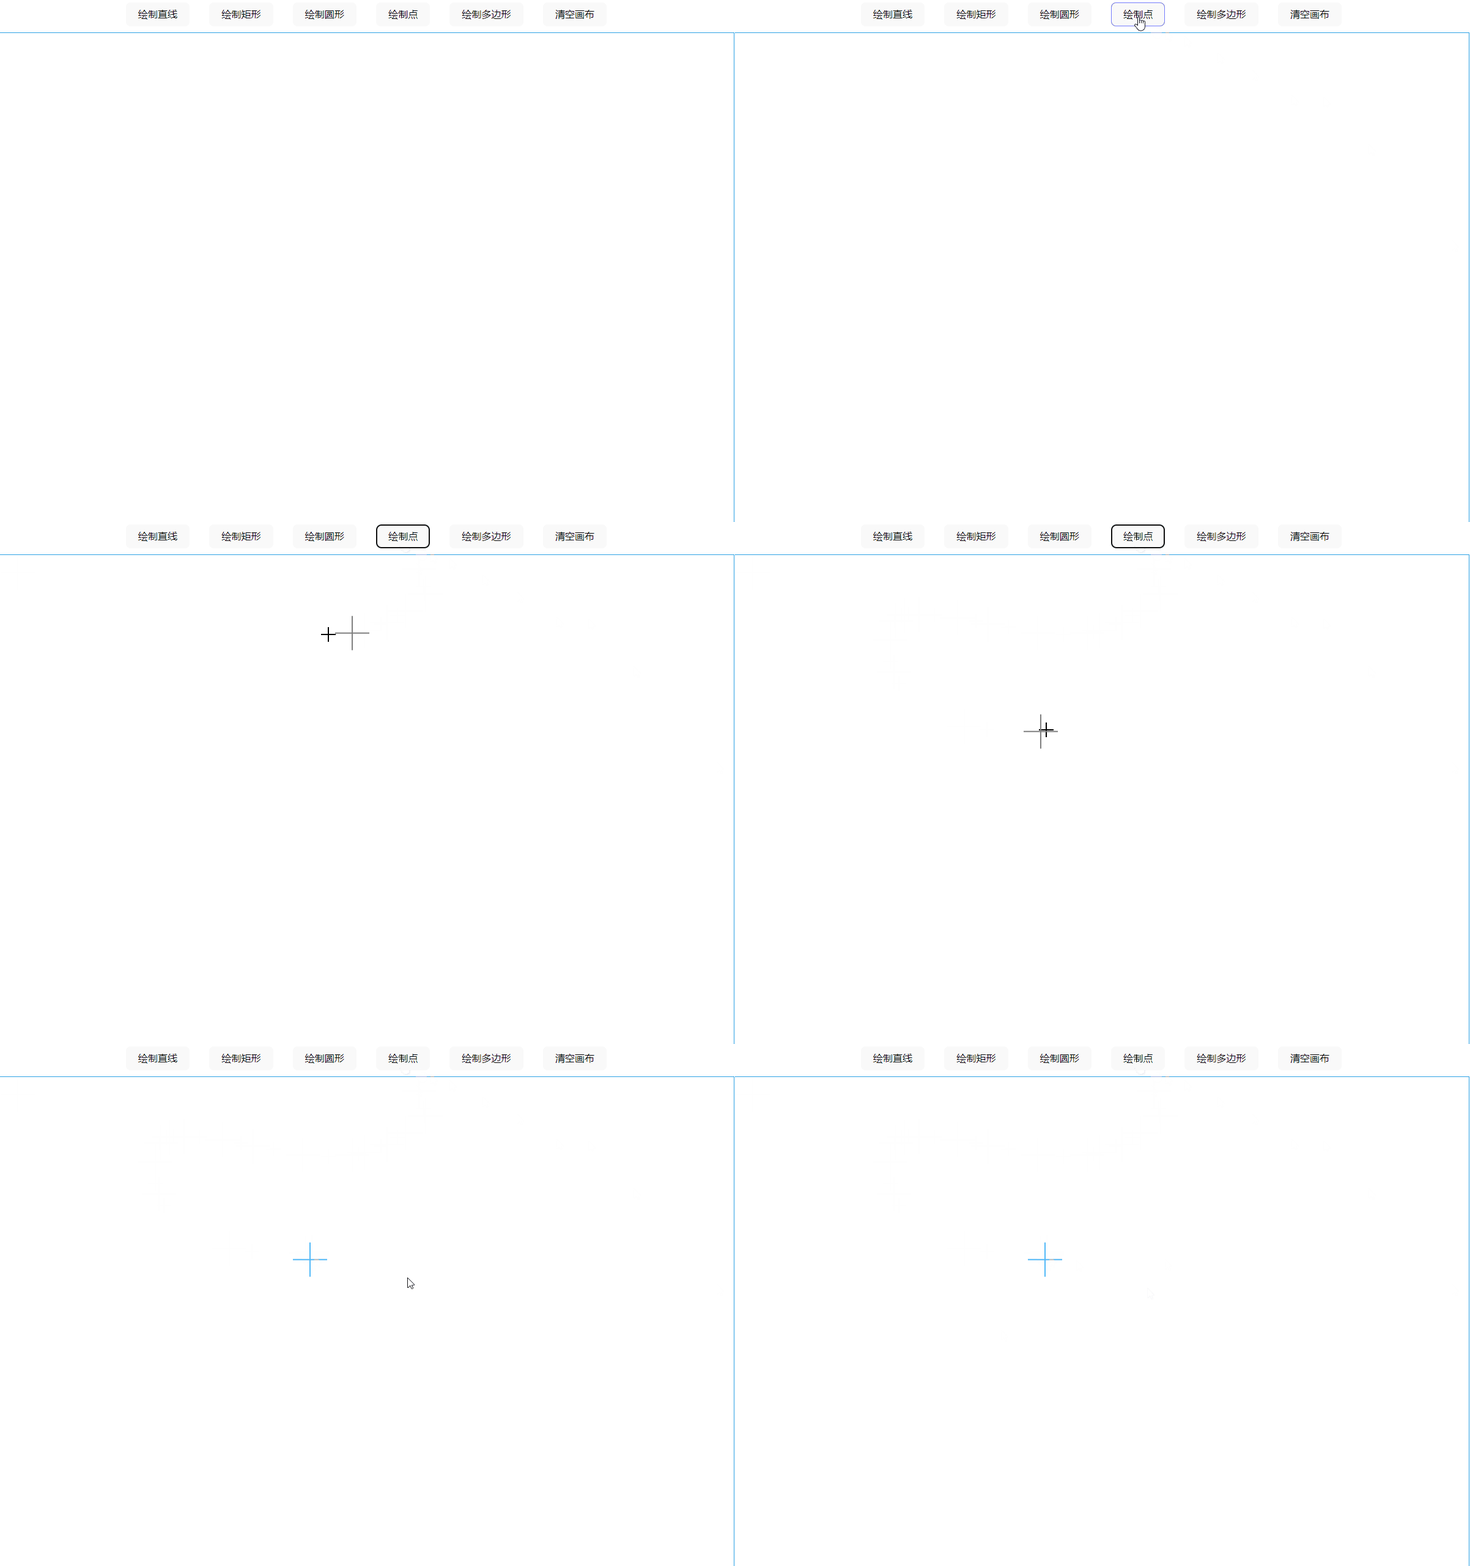
绘制点
绘制点实则绘制一个十字准星,需要用到的 fabric 的 path 对象。
思路一共三步:
- 点击绘制按钮,创建 path 对象
- 鼠标移动时改变 path 对象位置(跟随指针)
- 点击鼠标确认 path 位置
 1
 2
 3
 4
 5
 6
 7
 8
 9
10
11
12
13
14
15
16
17
18
19
20
21
22
23
24
25
26
27
28
29
30
31
|
class IFabric extends Emitter {
    _drawPoint() {
    // 定义十字形状的路径字符串
    const crossPath = "M 0 28 L 0 -28 M -28 0 L 28 0";
    const uid = this.addCrossToCanvas(crossPath, {
      isShapeOnCanvas: true,
      stroke: "rgba(0, 0, 0, 0.5)",
      strokeWidth: 2, // 设置描边宽度为2
      left: 0, // 设置左侧位置为100
      top: 0, // 设置顶部位置为100
    });
    const tempPath = this.getCanvasElementById(uid);
    this._canvas.on("mouse:move", (e) => {
      const currentPoint = e.absolutePointer;
      tempPath.set("left", currentPoint.x - tempPath.width / 2);
      tempPath.set("top", currentPoint.y - tempPath.height / 2);
      this._canvas.requestRenderAll();
    });
    this._canvas.on("mouse:down", (e) => {
      if (e.button === 3) {
        this._cancelDrawing("cross-done", tempPath);
        return;
      }
      tempPath.set("stroke", "#51B9F9");
      this._canvas.requestRenderAll();
      // 结束绘制
      this._offDrawEvent();
      this.emit("cross-done");
    });
  }
}
|

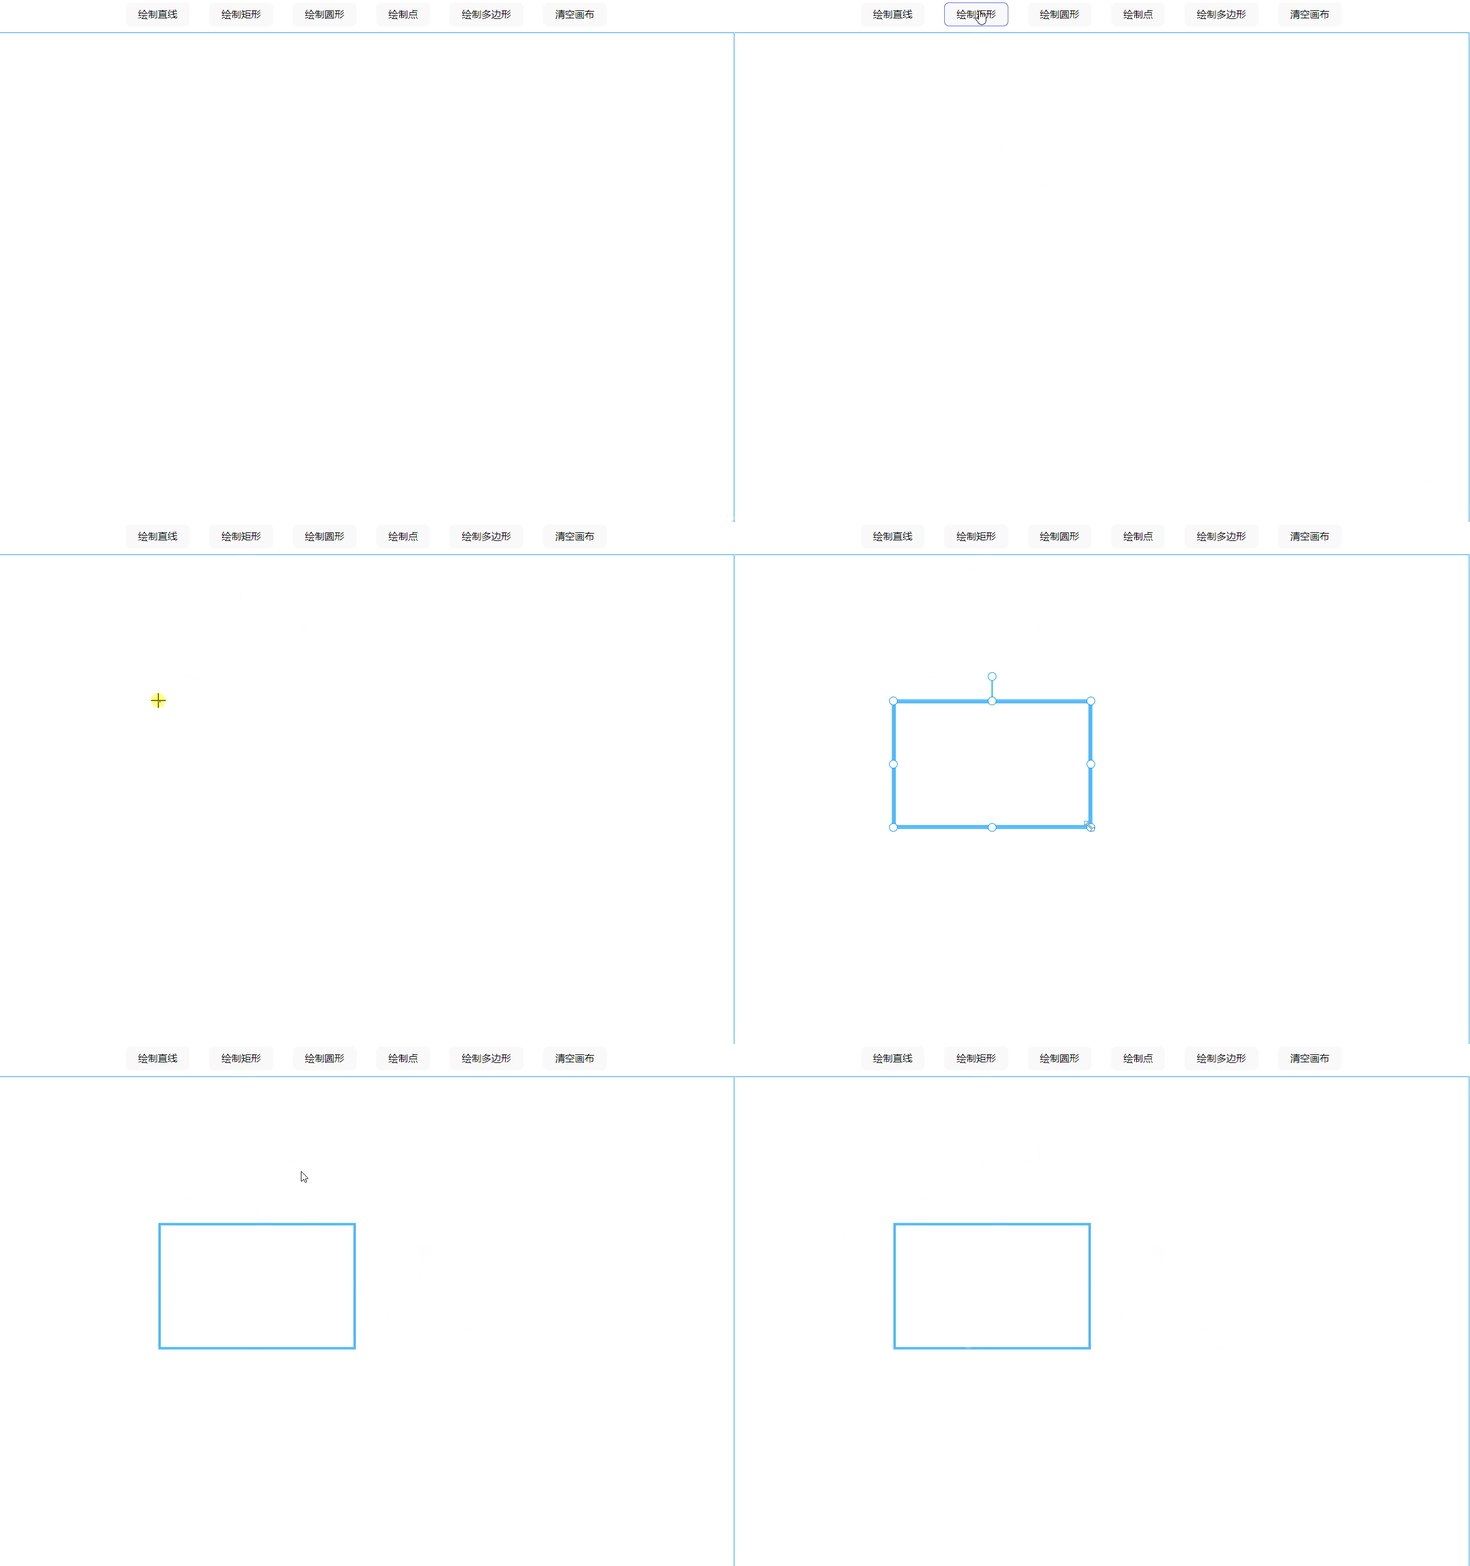
绘制矩形
绘制矩形的交互方式为拖拽生成,即鼠标点击确定起始坐标点,鼠标松开确定结束点坐标。
绘制矩形时需要注意的是从不同的方向开始绘制,会影响到需要生成的矩形参数,关于这一点,可以参考博客开头提到的掘金博主的文章,文中对此有详细描述。
 1
 2
 3
 4
 5
 6
 7
 8
 9
10
11
12
13
14
15
16
17
18
19
20
21
22
23
24
25
26
27
28
29
30
31
32
33
34
35
36
37
38
39
40
41
42
43
44
45
46
47
48
49
50
51
52
53
54
55
56
|
class IFabric extends Emitter {
    _drawRect() {
    let downPoint = null;
    let upPoint = null;
    let currentRect;
    // 右键取消绘制
    this._canvas.on("mouse:down", (e) => {
      if (e.button === 3) {
        this._cancelDrawing("rect-done", currentRect);
        return;
      }
      // 记录起始点
      downPoint = e.absolutePointer;
      const uid = this.addRectToCanvas({
        left: downPoint.x,
        top: downPoint.y,
        width: 0,
        height: 0,
        stroke: "rgba(0,0,0,0.6)",
        strokeWidth: 4,
        fill: "transparent",
        isShapeOnCanvas: true,
      });
      currentRect = this.getCanvasElementById(uid);
    });
    this._canvas.on("mouse:move", (e) => {
      if (!downPoint) return;
      upPoint = e.absolutePointer;
      currentRect.set({
        left: Math.min(downPoint.x, upPoint.x),
        top: Math.min(downPoint.y, upPoint.y),
        width: Math.abs(downPoint.x - upPoint.x),
        height: Math.abs(downPoint.y - upPoint.y),
      });
      this._canvas.requestRenderAll();
    });
    this._canvas.on("mouse:up", (e) => {
      // 这里判断了如果起始点和结束点相同,就移除这个对象
      // 同时不要忘记维护 elements 数组
      upPoint = e.absolutePointer;
      if (JSON.stringify(downPoint) === JSON.stringify(upPoint)) {
        this._canvas.remove(currentRect);
        this._elements = this._elements.filter(
          (el) => el.uid !== currentRect.uid
        );
      } else {
        if (currentRect) {
          currentRect.set("stroke", "#51B9F9");
          // 结束绘制
          this._offDrawEvent();
          this.emit("rect-done");
        }
      }
    });
  }
}
|

绘制圆形
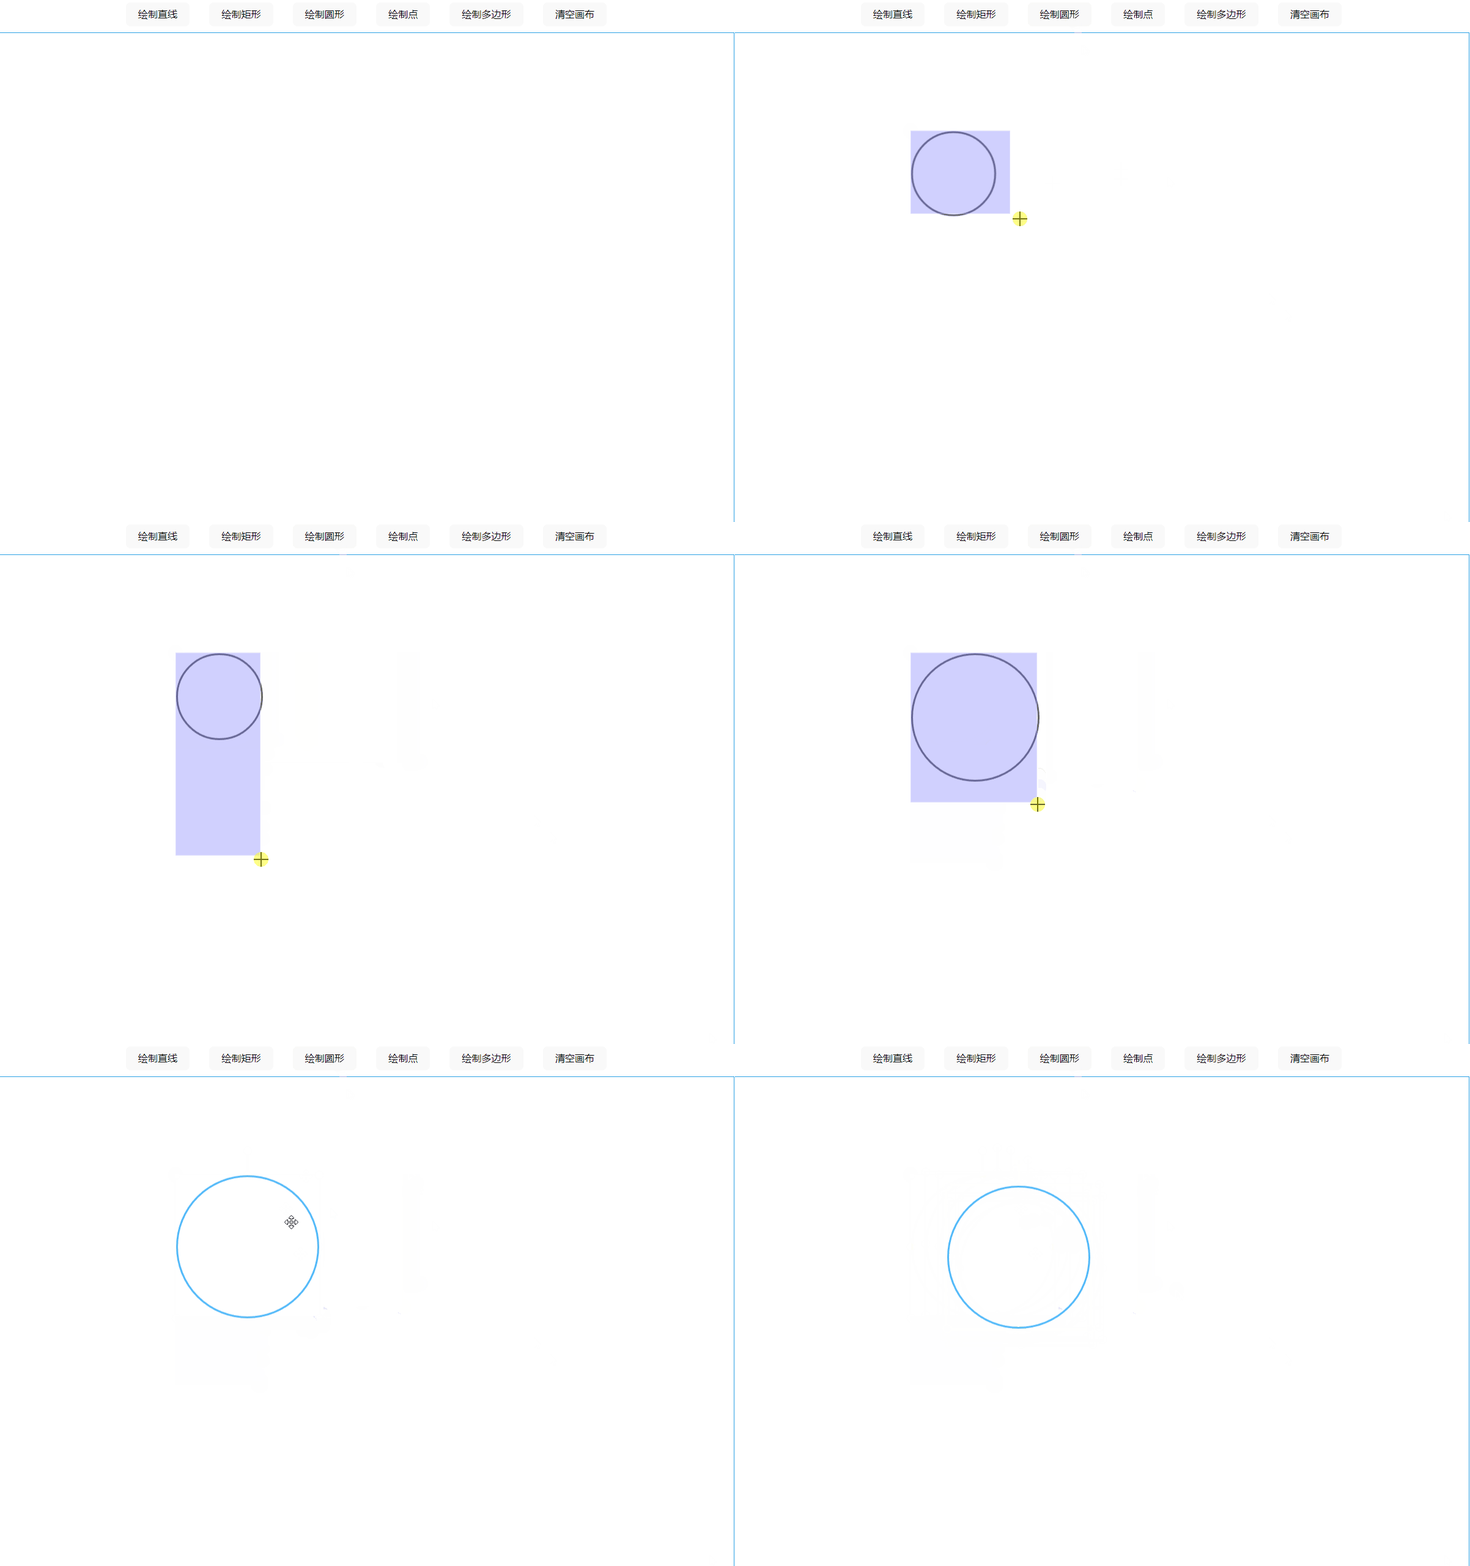
绘制圆形的思路跟绘制矩形是类似的。
不过需要注意的是,在绘制圆形时,需要从矩形中获得圆的直径,直径通过拖拽时的矩形框的短边确认。
 1
 2
 3
 4
 5
 6
 7
 8
 9
10
11
12
13
14
15
16
17
18
19
20
21
22
23
24
25
26
27
28
29
30
31
32
33
34
35
36
37
38
39
40
41
42
43
44
45
46
47
48
49
50
51
52
53
54
55
56
57
58
59
|
class IFabric extends Emitter {
    _drawCircle() {
    let currentCircle;
    let downPoint;
    this._canvas.on("mouse:down", (e) => {
      if (e.button === 3) {
        this._cancelDrawing("circle-done", currentCircle);
        return;
      }
      downPoint = e.absolutePointer;
      const uid = this.addCircleToCanvas({
        isShapeOnCanvas: true,
        top: downPoint.y,
        left: downPoint.x,
        radius: 0,
        fill: "transparent",
        stroke: "rgba(0, 0, 0, 0.6)",
        strokeWidth: 3,
      });
      currentCircle = this.getCanvasElementById(uid);
    });
    this._canvas.on("mouse:move", (e) => {
      if (!downPoint) return;
      const currentPoint = e.absolutePointer;
      // 半径:用短边来计算圆形的直径,最后除以2,得到圆形的半径
      const radius =
        Math.min(
          Math.abs(downPoint.x - currentPoint.x),
          Math.abs(downPoint.y - currentPoint.y)
        ) / 2;
      // 计算圆形的top和left坐标位置
      const top =
        currentPoint.y > downPoint.y ? downPoint.y : downPoint.y - radius * 2;
      const left =
        currentPoint.x > downPoint.x ? downPoint.x : downPoint.x - radius * 2;
      currentCircle.set("radius", radius);
      currentCircle.set("top", top);
      currentCircle.set("left", left);
      this._canvas.requestRenderAll();
    });
    this._canvas.on("mouse:up", (e) => {
      const upPoint = e.absolutePointer;
      // 如果鼠标点击和松开是在同一个坐标,就移除圆形
      if (JSON.stringify(downPoint) === JSON.stringify(upPoint)) {
        this._canvas.remove(currentCircle);
        this._elements = this._elements.filter(
          (el) => el.uid !== currentCircle.uid
        );
      } else {
        if (currentCircle) {
          currentCircle.set("stroke", "#51B9F9");
          // 结束绘制
          this._offDrawEvent();
          this.emit("circle-done");
        }
      }
    });
  }
}
|

绘制折线
实现折线的思路跟之前的几个都有些区别,我们需要依赖与一个递归的绘制直线的方法。
而这个递归方法跟绘制直线的思路是类似的,只是在绘制直线的过程中,当检测到已经有起始点和结束点的时候,不去结束绘制,而是递归的调用自己。
 1
 2
 3
 4
 5
 6
 7
 8
 9
10
11
12
13
14
15
16
17
18
19
20
21
22
23
24
25
26
27
28
29
30
31
32
33
34
35
36
37
38
39
40
41
42
43
44
45
46
47
48
49
50
51
52
53
54
55
56
57
58
59
60
61
62
63
64
65
66
67
68
69
70
|
class IFabric extends Emitter {
  constructor(container) {
    // 临时点信息
    this._tempPoints = [];
  }

  _drawPolyline() {}

 /**
  * 递归绘制线段
  */
  _drawLineRecursion(startPoint = null) {
    let downPoints = [];
    let currentLine;
    let currentPoint;

    // 内部复用函数
    const addLine = (path) => {
      const uid = this.addLineToCanvas(path, {
        stroke: "#51B9F9",
        strokeWidth: 3,
        tempLine: true,
      });
      currentLine = this.getCanvasElementById(uid);
    };
		// 将上一个结束点作为本次递归的起始点
    if (startPoint) {
      downPoints.push(startPoint);
      const path = [
        downPoints[0].x,
        downPoints[0].y,
        downPoints[0].x,
        downPoints[0].y,
      ];
      addLine(path);
    }
    this._canvas.on("mouse:up", (e) => {
      downPoints.push(e.absolutePointer);
      // 记录每个鼠标点击的点,将会用于最后生成 polyline
      this._tempPoints.push(e.absolutePointer);
      if (downPoints.length === 1) {
        // 初始线段
        const path = [
          downPoints[0].x,
          downPoints[0].y,
          downPoints[0].x,
          downPoints[0].y,
        ];
        // 只有一个点的情况,生成线段
        addLine(path);
      } else if (downPoints.length === 2) {
        this._canvas.requestRenderAll();
        this._canvas.off("mouse:move");
        this._canvas.off("mouse:up");
        this._drawLineRecursion(currentPoint);
      }
    });
    this._canvas.on("mouse:move", (e) => {
      if (downPoints.length === 1) {
        // 更新线段
        currentPoint = e.absolutePointer;
        currentLine.set({
          x2: currentPoint.x,
          y2: currentPoint.y,
        });
        this._canvas.requestRenderAll();
      }
    });
  }
}
|
有了递归方法,在_drawPolyline方法中需要做的事情就是:
- 将拿到记录的临时点坐标
- 将这些点绘制成 polyline
- 将临时的线段从画布中移除掉,并且维护 element 数组
 1
 2
 3
 4
 5
 6
 7
 8
 9
10
11
12
13
14
15
16
17
18
19
20
21
22
23
24
25
26
27
28
29
30
31
32
33
34
35
36
37
38
39
40
|
class IFabric extends Emitter {
  _getDeduplicationTempPoints() {
    // 去重
    let unitPoint = this._tempPoints.map((point) => {
      return JSON.stringify(point);
    });
    unitPoint = [...new Set(unitPoint)];
    return unitPoint.map((point) => {
      return JSON.parse(point);
    });
  }

  _drawPolyline() {
    this._drawLineRecursion();
    this._canvas.on("mouse:down", (e) => {
      if (e.button === 3) {
        // 去重获取所有点
        const points = this._getDeduplicationTempPoints();
        // 添加到画布中
        this.addPolyLineToCanvas(points, {
          stroke: "#51B9F9",
          strokeWidth: 3,
          fill: "transparent",
        });
        // 结束绘制
        this._offDrawEvent();
        // 移除临时线段并且维护 element 数组
        this._elements = this._elements.filter((item) => {
          if (item.tempLine) {
            this._canvas.remove(item);
          }
          return !item.tempLine;
        });
        // 清空临时坐标点
        this._tempPoints = [];
        this.emit("polyLine-done");
      }
    });
  }
}
|

绘制多边形
绘制多边形跟绘制折线是非常类似的,所以他们之间的方法大部分都可以复用。
绘制多边形的思路同样是递归画线,只不过当用户点击右键时,需要将这些折线进行一个首尾相连,使其成为一个多边形。
 1
 2
 3
 4
 5
 6
 7
 8
 9
10
11
12
13
14
15
16
17
18
19
20
21
22
23
24
25
26
27
28
29
30
31
32
33
34
35
36
37
|
class IFabric extends Emitter {
  // 开始递归画线
  this._drawLineRecursion();
  // 监听鼠标右击事件
  this._canvas.on("mouse:down", (e) => {
  if (e.button === 3) {
    this._offDrawEvent();
    // 去重
    const points = this._getDeduplicationTempPoints();
    // 少于三个点提示错误
    if (points.length <= 2) {
      this._tempPoints = [];
      this.emit("polygon-err", "多边形至少需要三个点");
      return;
    }
    // 判断多边形是否首尾相连
    const firstPoint = points[0];
    const lastPoint = points[points.length - 1];
    if (JSON.stringify(firstPoint) !== JSON.stringify(lastPoint)) {
      points.push(firstPoint);
    }
    this.addPolygonToCanvas(points, {
      stroke: "#51B9F9",
      strokeWidth: 3,
      fill: "transparent",
    });
    this._elements = this._elements.filter((item) => {
      if (item.tempLine) {
        this._canvas.remove(item);
      }
      return !item.tempLine;
    });
    this._tempPoints = [];
    this.emit("polygon-done");
  }
});
}
|

生成文字
生成文字比较简单,不过为了交互的效果,我们将指针改成了text。
 1
 2
 3
 4
 5
 6
 7
 8
 9
10
11
12
13
14
15
16
17
18
19
20
|
class IFabric extends Emitter {
  _genText() {
    this._canvas.defaultCursor = "text";
    this._canvas.on("mouse:down", (e) => {
      if (e.button === 3) {
        this._cancelDrawing("itext-done");
        return;
      }
      const point = e.absolutePointer;
      this.addTextToCanvas("双击进行编辑", {
        isShapeOnCanvas: true,
        top: point.y,
        left: point.x,
        fill: "#51B9F9",
      });
      this._offDrawEvent();
      this.emit("itext-done");
    });
  }
}
|

总结
我们在这个系列的博客中,封装了基于 fabricjs 的类,也对一些常见的图形绘制进行了实现。
在这个基础之上,加上 fabricjs 丰富的 API,其实还可以扩展出非常多很好玩的功能,例如我在演示中呈现的照片温度分析等。
非常感谢大家能看到这里,本次分享就到此为止了,需要完整代码的可以发✉️给我,懒得上传了🤣。
(完)

