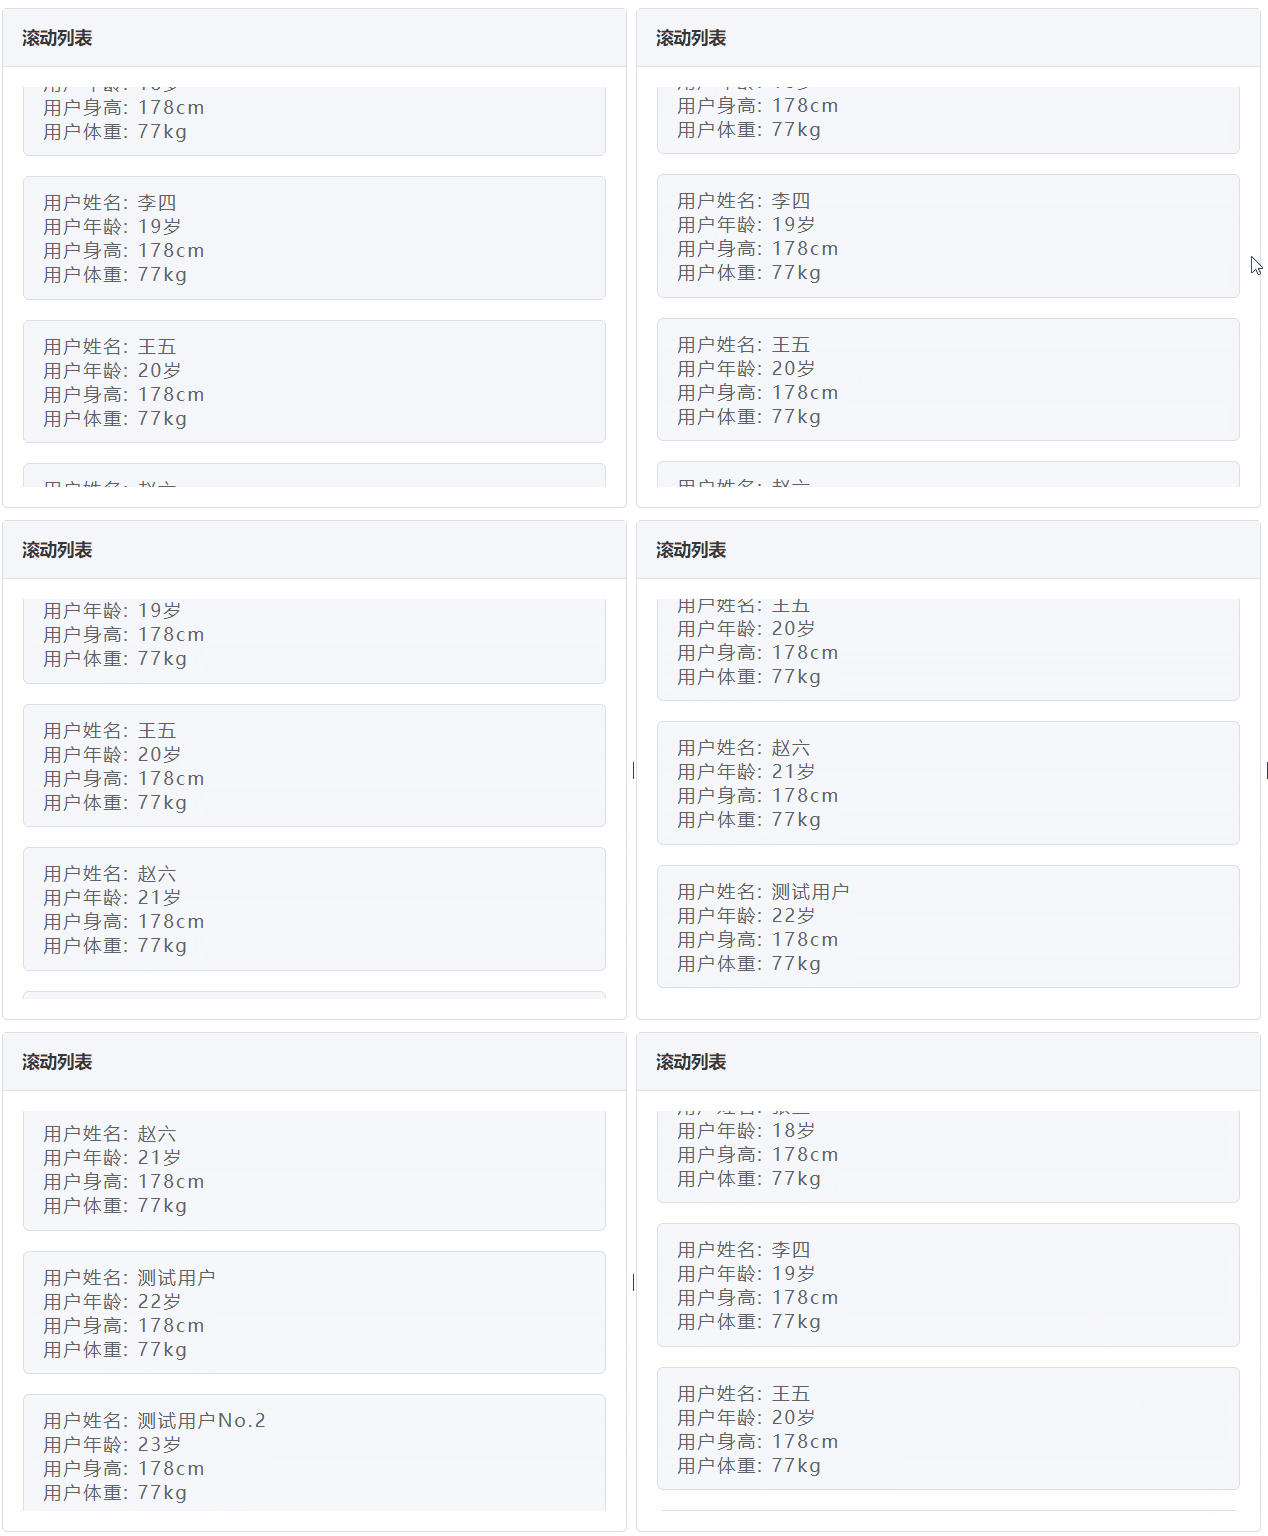
最终效果
- 初始化时列表自动滚动
- 鼠标 hover 出现滚动条,停止滚动
- 到达底部时回到顶部

静态部分
静态部分代码就不详细说了
 1
 2
 3
 4
 5
 6
 7
 8
 9
10
11
12
13
14
15
16
17
18
19
20
21
22
23
24
25
26
27
28
29
30
31
32
33
34
35
36
37
38
39
40
41
42
43
44
45
46
47
48
49
50
51
52
53
54
55
56
57
58
59
60
61
62
63
64
65
66
67
68
69
70
71
72
73
74
75
76
77
78
79
80
81
82
83
84
85
86
87
88
89
90
91
|
<template>
  <div id="app">
    <div class="box">
      <!--标题-->
      <div class="header">
        <span class="title">滚动列表</span>
      </div>
        <!--内容部分-->
      <div class="content">
        <ul class="scroll-list" ref="scrollListRef">
            <!--内容卡片-->
          <li class="scroll-item"
              v-for="user in listData"
              :key="user.name"
          >
            <p>用户姓名: {{ user.name }}</p>
            <p>用户年龄: {{ user.age }}岁</p>
            <p>用户身高: {{ user.height }}cm</p>
            <p>用户体重: {{ user.width }}kg</p>
          </li>
        </ul>
      </div>
    </div>
  </div>
</template>

<style lang="scss" scoped>
@import "static/scss/base";

.box {
  width: 500px;
  height: 400px;
  border: 1px solid #dcdfe6;
  border-radius: 4px;

  .header {
    width: 100%;
    height: 46px;
    display: flex;
    align-items: center;
    padding-left: 15px;
    color: #303133;
    background-color: #f5f7fa;
    border-bottom: 1px solid #dcdfe6;

    .title {
      font-size: 14px;
      font-weight: bold;
    }
  }

  .content {
    height: calc(100% - 46px);
    padding: 16px;

    .scroll-list {
      height: 100%;
      width: 100%;

      &::-webkit-scrollbar-track-piece {
        background: #eef2f3;
      }

      &::-webkit-scrollbar {
        width: 8px;
      }

      &::-webkit-scrollbar-thumb {
        background: #dcdfe6;
        border-radius: 20px;
      }

      overflow: hidden;
      &:hover {
        overflow: auto;
      }

      .scroll-item {
        border: 1px solid #dcdfe6;
        border-radius: 5px;
        color: #606266;
        background-color: #f5f7fa;
        letter-spacing: 2px;
        margin-bottom: 16px;
        padding: 10px 15px;
        font-size: 14px;
      }
    }
  }
}
</style>
|
滚动逻辑实现
核心逻辑
 1
 2
 3
 4
 5
 6
 7
 8
 9
10
11
12
13
14
15
16
|
scrollFn() {
    //通过ref获取到ul的dom元素
      const scrollHeight = this.$refs.scrollListRef.scrollHeight
      const offsetHeight = this.$refs.scrollListRef.offsetHeight
      //设置定时器,获取到timer
      this.timer = setInterval(() => {
          //如果元素的 scrollTop + offsetHeight 等于 scrollHeight的话
          //意味着已经到底了,将 scrollTop 重置为 0
        if (this.$refs.scrollListRef.scrollTop + offsetHeight === scrollHeight) {
          this.$refs.scrollListRef.scrollTop = 0
        } else {
            //如果还未置底, scrollTop +=1 无限循环
          this.$refs.scrollListRef.scrollTop += 1
        }
      }, 30)
    }
|
⚠️ 这里有一个坑需要注意:
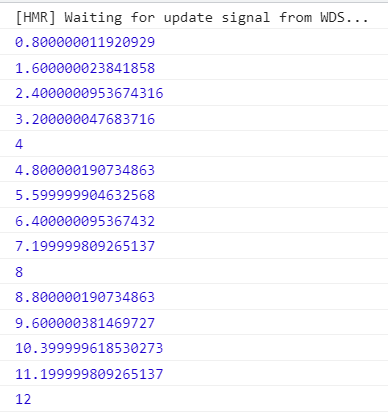
当 Windows 用户的显示设置中的缩放不等于 100% 时,scrollTop 可能变成小数

在控制台打印出来的 scrollTop 如下图:

我们在定时器中设置的是 +=1 但是最终结果却是小数,这样就会导致到达底部时,scrollTop + offsetHeight 的值可能小于 scrollHeight,以至于无法回到顶部,附上 MDN 的解释。
在使用显示比例缩放的系统上,scrollTop 可能会提供一个小数。
解决的办法是将判断逻辑改为 scrollTop + offsetHeight +1,这样就可以保证到底之后可以回到顶部。
 1
 2
 3
 4
 5
 6
 7
 8
 9
10
|
 //设置定时器,获取到timer
      this.timer = setInterval(() => {
          //修改判断逻辑
        if (this.$refs.scrollListRef.scrollTop + offsetHeight +1 >= scrollHeight) {
          this.$refs.scrollListRef.scrollTop = 0
        } else {
            //如果还未置底, scrollTop +=1 无限循环
          this.$refs.scrollListRef.scrollTop += 1
        }
      }, 30)
|
清除定时器
设置一个清除定时器的方法,在鼠标覆盖事件以及组件销毁时调用
1
2
3
|
clearTimer() {
   clearInterval(this.timer)
}
|
设置监听
到这里核心逻辑就完成了,将方法挂到 DOM 上,以及 Mounted 初始化时调用
1
2
3
4
5
6
|
<li class="scroll-item"
              v-for="user in listData"
              :key="user.name"
              @mouseleave="scrollFn"
              @mouseover="clearTimer"
          >
|
1
2
3
4
5
6
7
8
|
 //初始化调用滚动函数
mounted() {
  this.scrollFn()
},
//销毁清除定时器
beforeDestroy() {
  this.clearTimer()
},
|
<script> 完整代码
 1
 2
 3
 4
 5
 6
 7
 8
 9
10
11
12
13
14
15
16
17
18
19
20
21
22
23
24
25
26
27
28
29
30
31
32
33
34
35
36
37
38
39
|
<script>
export default {
  mounted() {
    this.scrollFn()
  },
  beforeDestroy() {
    this.clearTimer()
  },
  methods: {
    scrollFn() {
      const scrollHeight = this.$refs.scrollListRef.scrollHeight
      const offsetHeight = this.$refs.scrollListRef.offsetHeight
      this.timer = setInterval(() => {
        if (this.$refs.scrollListRef.scrollTop + offsetHeight +1 >= scrollHeight) {
          this.$refs.scrollListRef.scrollTop = 0
        } else {
          this.$refs.scrollListRef.scrollTop += 1
        }
      }, 30)
    },
    clearTimer() {
      clearInterval(this.timer)
    }
  },
  data() {
    return {
      listData: [
        {name: '张三', age: 18, height: 178, width: 77},
        {name: '李四', age: 19, height: 178, width: 77},
        {name: '王五', age: 20, height: 178, width: 77},
        {name: '赵六', age: 21, height: 178, width: 77},
        {name: '测试用户', age: 22, height: 178, width: 77},
        {name: '测试用户No.2', age: 23, height: 178, width: 77},
      ],
      timer: null
    }
  }
}
</script>
|
(完)


